Dieser Beitrag ist auch verfügbar auf:
Deutsch
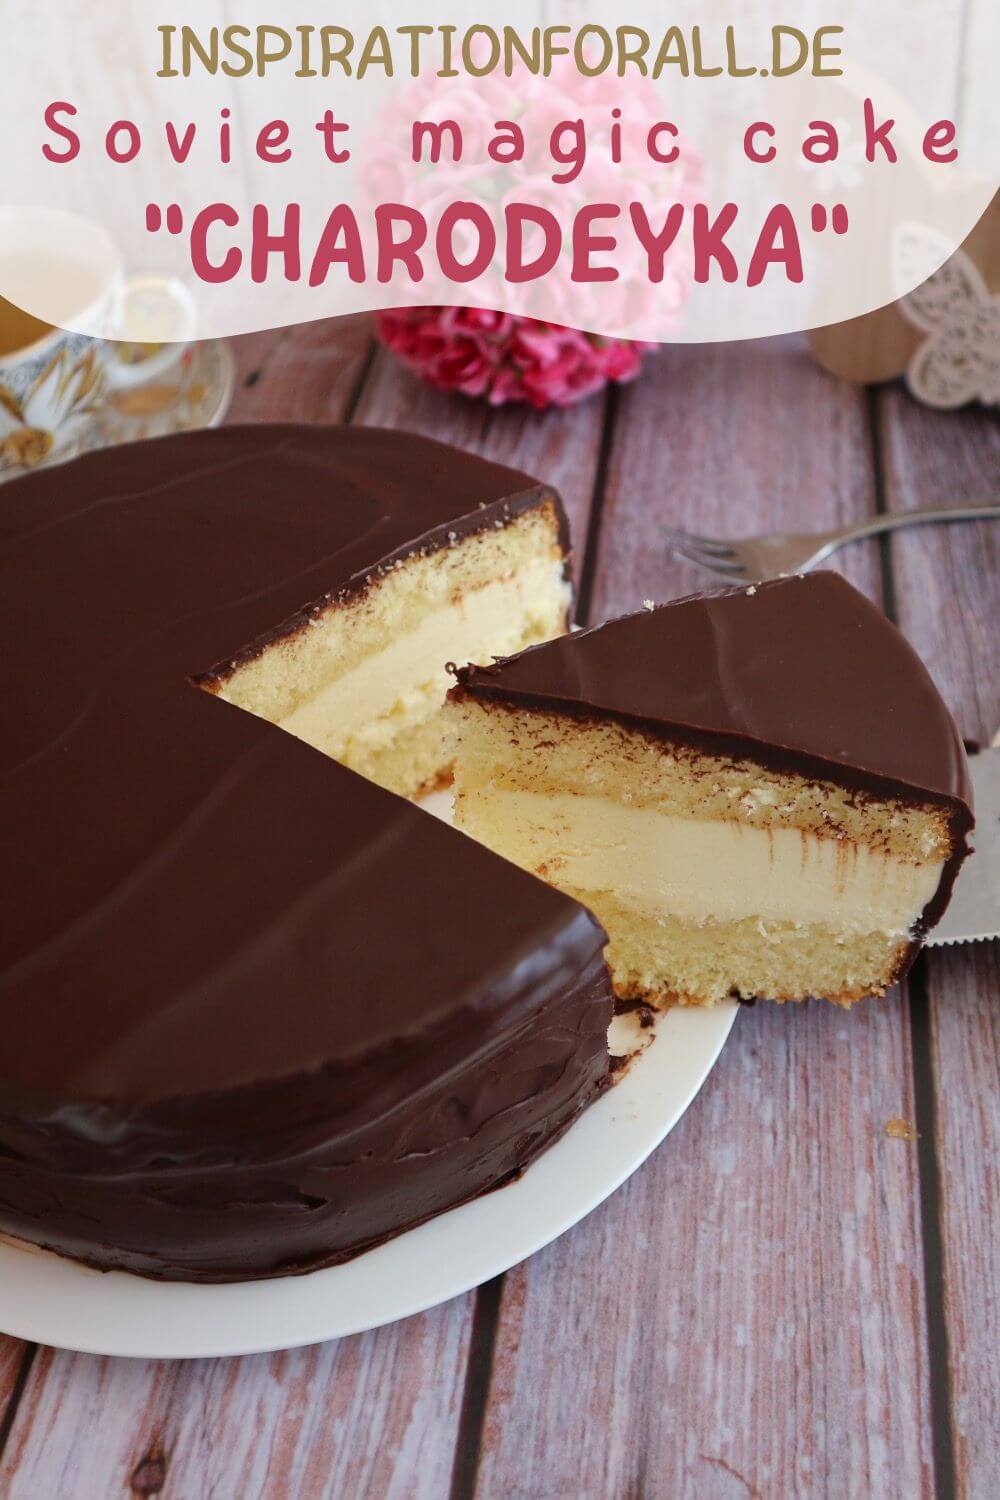
The cake “Charodeyka” is simple in appearance, easy to make and incredibly delicious in taste. It is not without reason that it has been a popular cake in Russian cuisine since the Soviet era and is offered in many Moscow pastry shops. But you can also make it yourself at home. A detailed recipe for the Russian cake “Charodeyka” with exact quantities and step-by-step instructions can be found here at the bottom.
History of cake “Charodeyka”
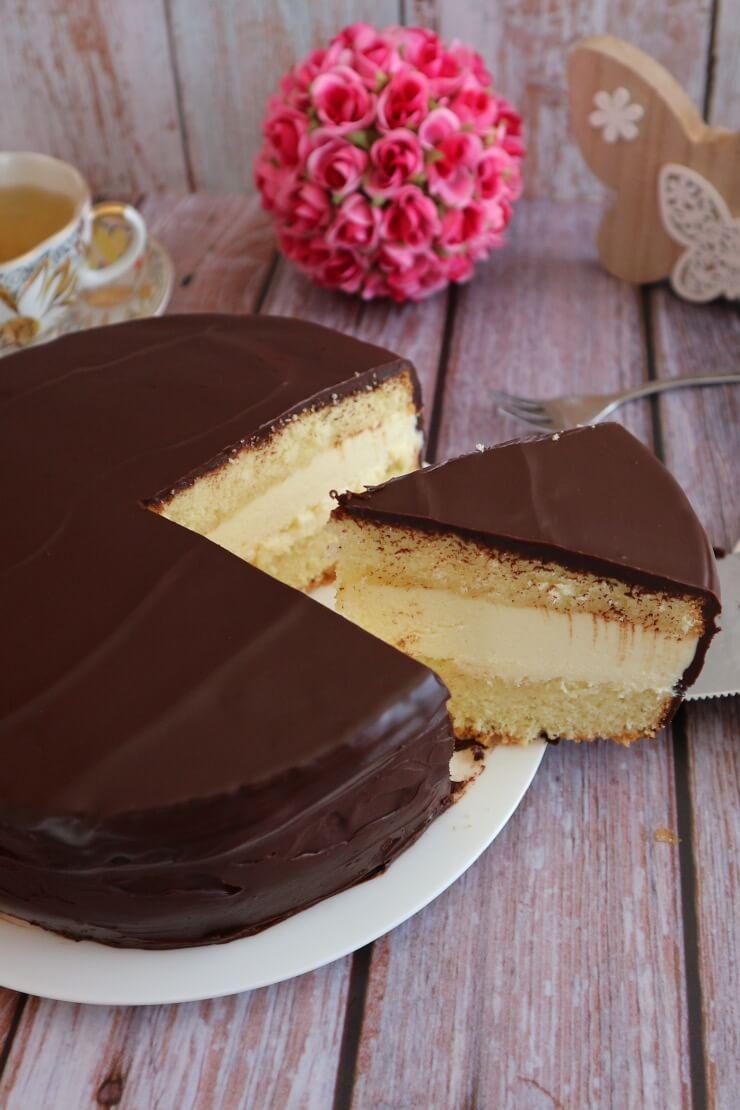
“Charodeyka” is a Soviet sponge cake made by Moscow confectionery and bakery “Cheryomushki” since the 70s. This was the first cake of the USSR with long-term storage. At that time it was sold in many Moscow pastry stores and grocery stores packed in a pretty red cardboard box with old Russian patterns.
The recipe came from the master confectioner Bella Semyonovna Sheyntova. For the invention of the cake “Charodeyka” she became the laureate of the USSR-WDNCh (Exhibition of Achievements of National Economy).
It is believed that the confectioner thought of her favorite hairdressing salon “Charodeyka” on Novy Arbat in Moscow when she thought of a name for the cake.
By the way, “Charodeyka” translated from Russian means “The Enchantress”.
Unlike many other Soviet cake recipes, the GOST (Gossudarstvenny Standart – translated as “State Standard”) recipe for the cake “Charodeyka” was never published. Soviet women developed their own recipe for it at home, which should be as close as possible to the classic in taste. Thus, recipes for homemade cake “Charodeyka” were created, slightly different from the confectioner’s cake and from each other.
After the collapse of the Soviet Union, the cake “Charodeyka” is still produced in Russia and offered in many modern confectioneries. Homemade variant of it is also popular with many at home.
What is the cake made of?
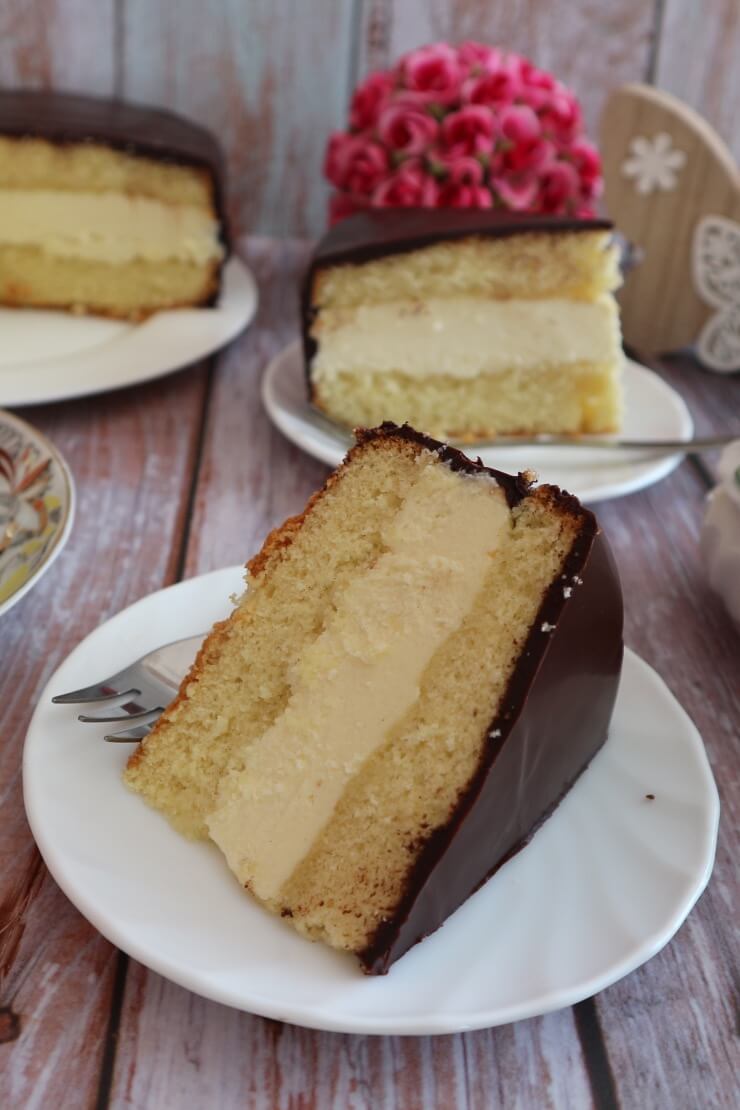
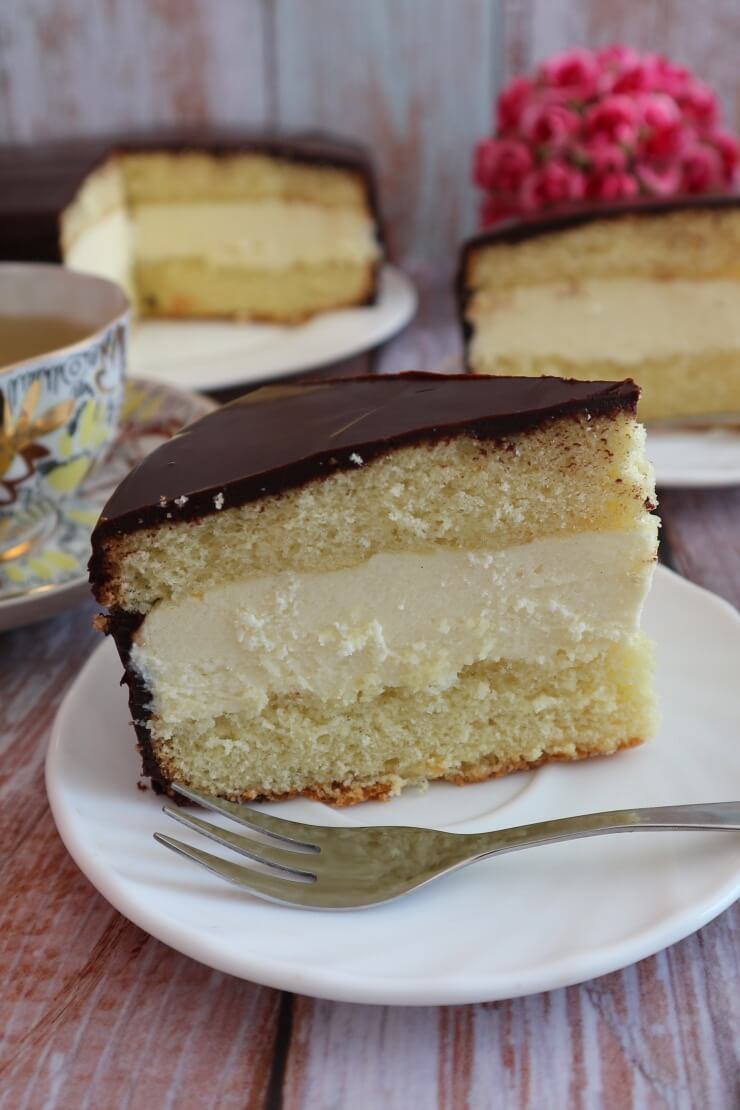
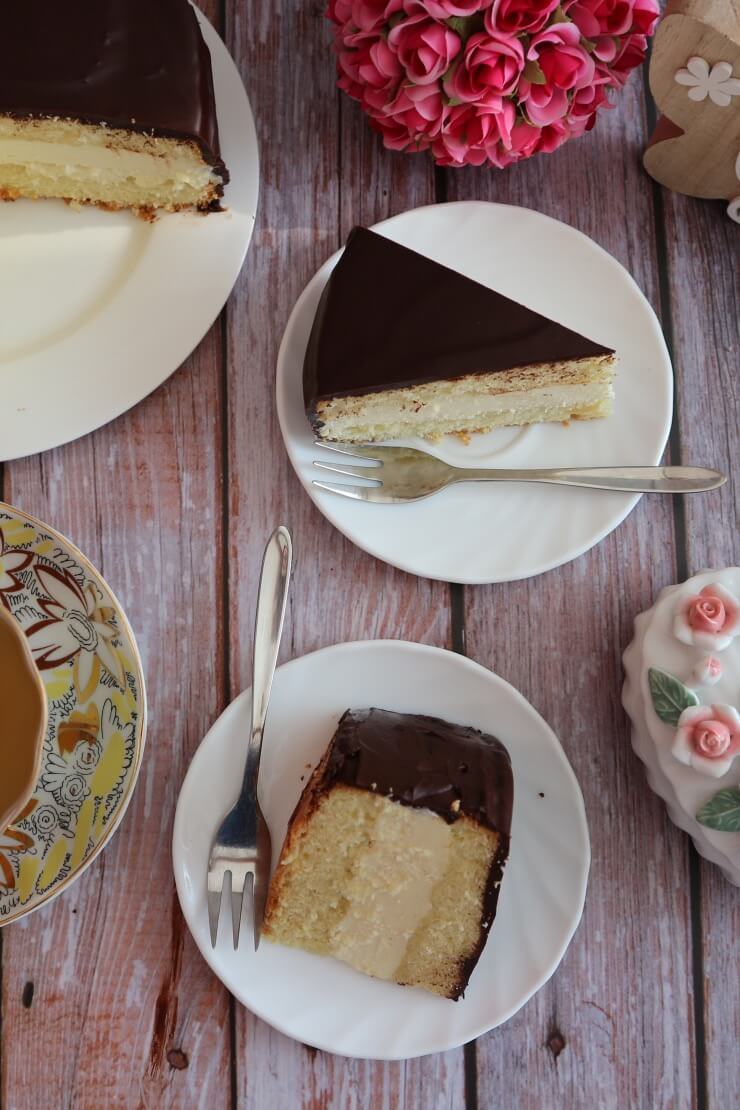
The cake “Charodeyka” consists of the classic sponge cake base, butter pudding cream and chocolate glaze.
The sponge cake tastes light and airy. By soaking it with the sugar syrup, it is juicy at the same time.
The butter pudding filling tastes creamy and tender.
The taste of the cake is rounded off with the chocolatey glaze.
What is the magic in it?
The cake “Charodeyka” has been very popular in Russian cuisine since the Soviet era. What is so magical in it?
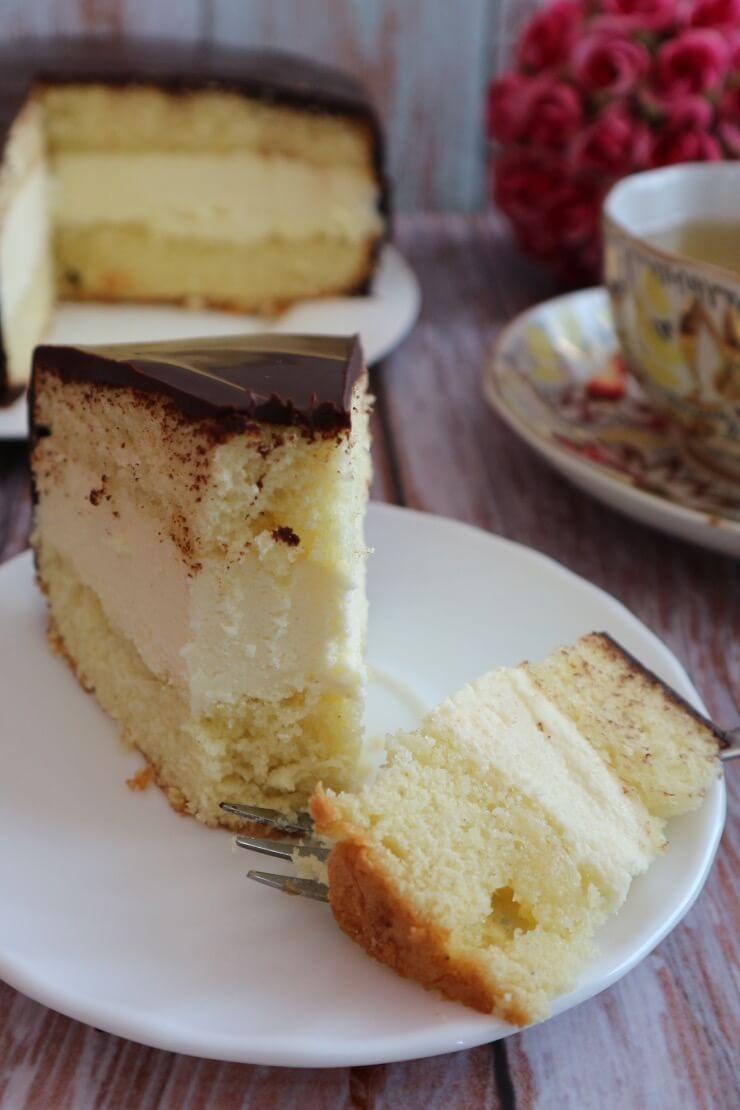
First of all, it is its heavenly delicious taste. The fluffy sponge cake perfectly combines with the delicate butter pudding cream and sweet chocolate glaze. The cake tastes fluffy, creamy, soft, juicy and chocolaty at the same time.
Visually, the Soviet cake looks quite plain. It is simply covered with the chocolate glaze. The cake was never decorated in any fancy way.
In addition, the recipe for it is very simple. You can make the cake without any special baking skills.
Easy recipe, simple appearance and delicious taste – this combination is probably the magic of the cake “Charodeyka”, which makes it so popular over the years.
The cake “Charodeyka” is
- airy,
- creamy,
- light,
- tender,
- juicy,
- soft,
- chocolaty,
- moderately sweet,
- heavenly delicious,
- easy and quick to make,
- ideal for dessert during the week or for a celebration,
- sweet classic of Soviet cuisine.
Simple cake “Charodeyka” recipe
The recipe for the cake “Charodeyka”, which you can find here at the end of the post in the recipe box, is very simple and quick. So you can make it during the week for dessert for your family. But the cake is also ideal for a party.
First you make a classic sponge cake, let it cool and cut it into two cake layers.
By the way, you can also make it the day before and store it overnight in an airtight container. This way you’ll have the cake ready even faster the next day.
For the cream, first make the pudding, which is quick as a flash, and let it cool. Then whip butter until creamy and stir in the pudding in batches.
Now assemble the cake. First soak the two cake layers with the syrup made of water and sugar. Then spread the cream on one of the cake layers and place the second cake layer on top.
Now cover the cake with the glaze made of melted chocolate and butter.
After that, the cake “Charodeyka” only needs to cool thoroughly.
How to make cake “Charodeyka”: tips and tricks
- To bake the sponge cake you need a Ø 20 cm large springform tin**.
- Make a stick or pressure test to check if the sponge cake is done baking. Insert a wooden skewer briefly into the center of the sponge cake and see if it comes out clean. Alternatively, you can use a finger to gently press on the surface of the sponge cake about halfway down. If it springs back after pressing, and no pressure marks remain to be seen, it is ready.
- You can make the sponge cake the day before, let it cool completely, and store it overnight in an airtight container at room temperature.
- You can omit soaking the cake layers with the sugar syrup. However, it will make them taste juicier.
- Instead of vanilla bean, you can use vanilla sugar. Use 8 g of vanilla sugar for the sponge cake and for the cream, and about 5 g less of the regular sugar for each.
- Cook the pudding for the cream in a thick-bottomed saucepan so that it does not burn.
- Stir the pudding constantly as it cooks so that no lumps form.
- Butter and the homemade pudding for the cream must be room warm and both at about the same temperature so that they can combine well when whipped.
Video for the cake “Charodeyka” recipe
By the way, on my Youtube channel you can find a short video for the Soviet cake “Charodeyka”. There you can see exactly how to make the sponge cake and the cream for it. If you don’t want to miss any more videos from me, feel free to subscribe to my channel.
Did you make the cake “Charodeyka” yourself according to this recipe? I’m looking forward to your result, your star rating and your comment here below, how you succeeded and tasted the Soviet classic cake.
Looking for more Soviet cake recipes? Try some more:
- Cake “Slavyanka” – nostalgia USSR dessert with secret ingredient
- Honey cake “Winnie-the-Pooh”: popular homemade Soviet cake
- Cake “Slavutych” – forgotten pearl from the Soviet era
Cake "Charodeyka"
Equipment
- Ø 20 cm large baking springform tin
Ingredients
for the batter
- 4 eggs room warm
- 120 g sugar**
- 120 g flour**
- 1 pinch of vanilla bean**
- 1 pinch of salt
for the cream
- 300 ml milk
- 100 g butter room warm
- 90 g sugar**
- 1 egg
- 30 g cornstarch**
- 1 pinch of vanilla bean**
for the chocolate glaze
- 100 g dark chocolate**
- 60 g butter
for the sugar syrup
- 60 ml water
- 40 g sugar**
Instructions
Preparation of the batter
- Line the bottom of the springform tin with baking paper.
- Beat eggs, sugar, vanilla and salt to a creamy, airy, thick, light mixture.
- Fold flour into the egg-sugar mixture to create an airy, viscous batter.
- Pour the batter into the baking tin, bake the sponge cake in a preheated oven at 180 °C top and bottom heat for about 30 minutes and let it cool.
Preparation of the cream
- Mix egg, sugar and cornstarch in a small saucepan with a thick bottom.
- Add milk and mix thoroughly.
- Place the saucepan on the stove and bring the mixture to a boil over medium heat, stirring as it thickens. Then cook it for about 1 minute, stirring constantly, and let the pudding cool to room temperature, stirring occasionally.
- Beat softened butter for 3 - 5 minutes until creamy and fluffy.
- Add vanilla as well as the pudding in batches and whip each time to a homogeneous cream.
Preparation of the sugar syrup
- Put sugar and water in a small saucepan, bring it to a boil briefly, stirring constantly so that the sugar dissolves, and let the sugar syrup cool.
Preparation of the cake
- Cut the sponge cake lengthwise into two equally thick cake layers.
- Soak the two cake layers from the inside with the sugar syrup.
- Spread all the cream on one of the two cake layers and place the second cake layer on top.
Preparation of the glaze
- Slowly melt dark chocolate and butter together in a water bath.
- Pour the chocolate glaze over the cake, spreading it on the sides of the cake as well.
- Chill the cake for at least 2 hours.
Notes
- Make a stick or pressure test to check if the sponge cake is done baking. To do this, briefly insert a wooden skewer into the center of the sponge cake and see if it comes out clean. Alternatively, you can use a finger to gently press on the surface of the sponge cake about halfway down. If it springs back after pressing, and no pressure marks remain to be seen, it is ready.
- The sponge cake can be made the day before, allowed to cool completely, and stored overnight in an airtight container at room temperature.
- You can omit soaking the cake layers with the sugar syrup. However, it will make them taste juicier.
- Instead of vanilla bean, you can use vanilla sugar. Then take 8 g of vanilla sugar each for the sponge cake and the cream and about 5 g less of the regular sugar each.
- Butter and the homemade pudding for the cream must be room warm and both at about the same temperature so that they can combine well when whipped.
- Note the detailed tips and tricks for making the cake "Charodeyka" above in the post.
If you are using Pinterest, you can pin the following picture:
