Dieser Beitrag ist auch verfügbar auf:
Deutsch
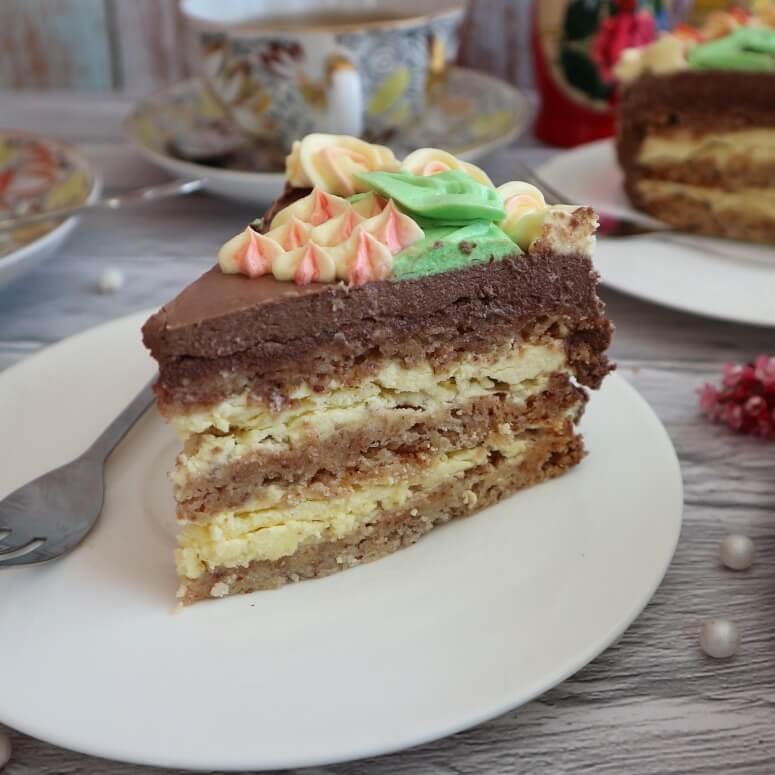
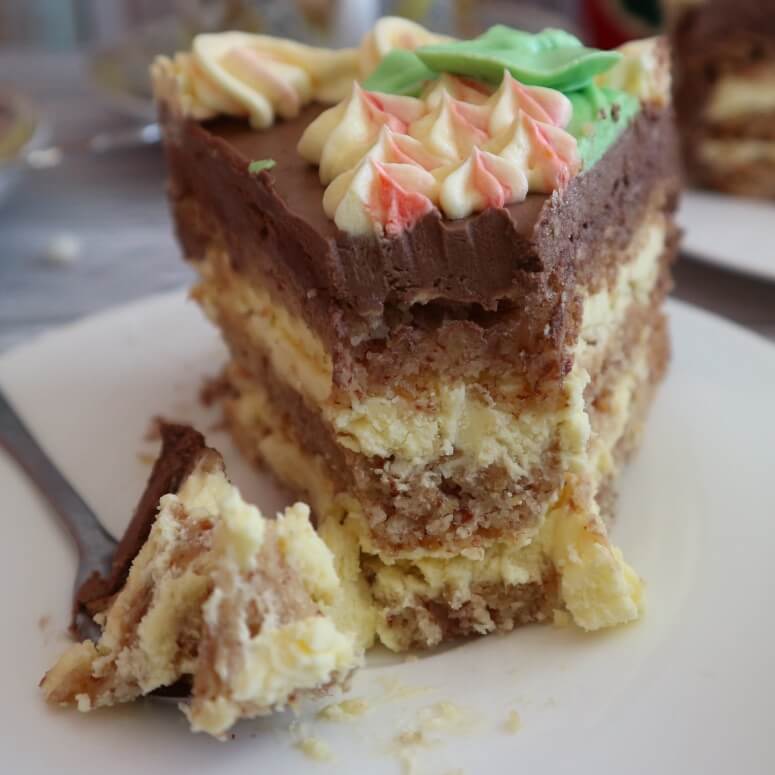
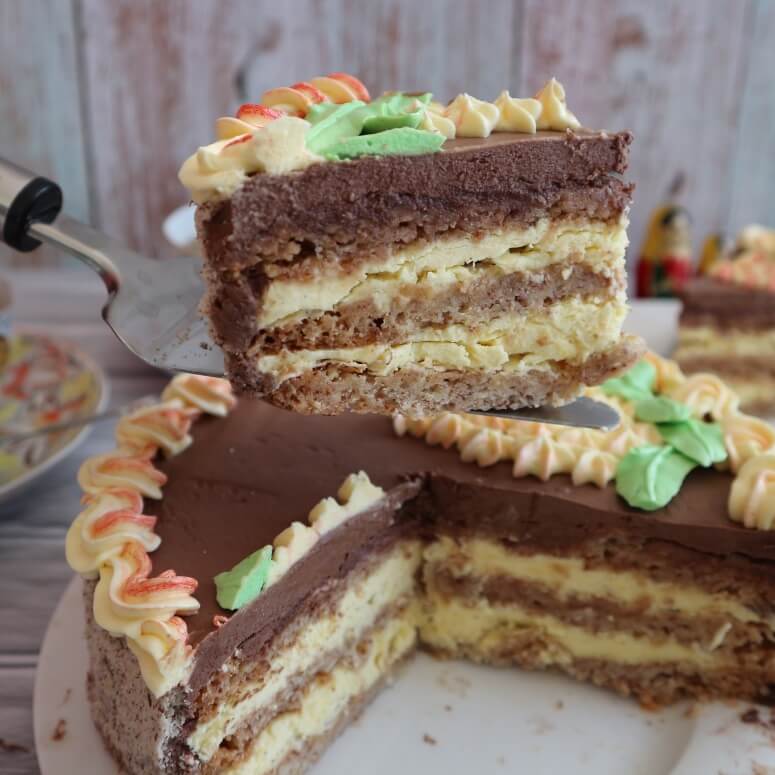
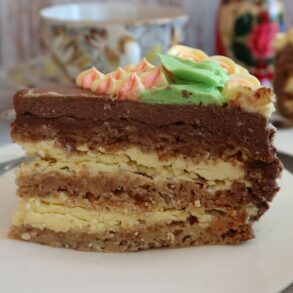
Khreshchatyk cake, which was popular in the Soviet Union, consists of crispy cake layers with nut and delicate butter cream with milk syrup. Here I show you how to make this nutty creamy cake with light chocolate flavor at home. It’s perfect for a party or just for afternoon coffee on the weekend. You can find a detailed recipe for Khreshchatyk cake with exact quantities and step-by-step instructions here at the very bottom.

What is Khreshchatyk?
Khreshchatyk is a main street in Kiev, the symbol of which are blossoming chestnut trees on the sides of the street. Probably, the Ukrainian cake decorated with flowering chestnut branches was named precisely after this central street.
It was especially popular during the Soviet period. At that time Khreshchatyk cake was part of the assortment of many Soviet confectioneries and grocery stores.
For lovers of Kiev cake
Khreshchatyk cake meets the taste especially of those who love Kiev cake. Just like the popular Ukrainian cake, it consists of crispy cake layers with nuts and the delicate cream “Charlotte”.
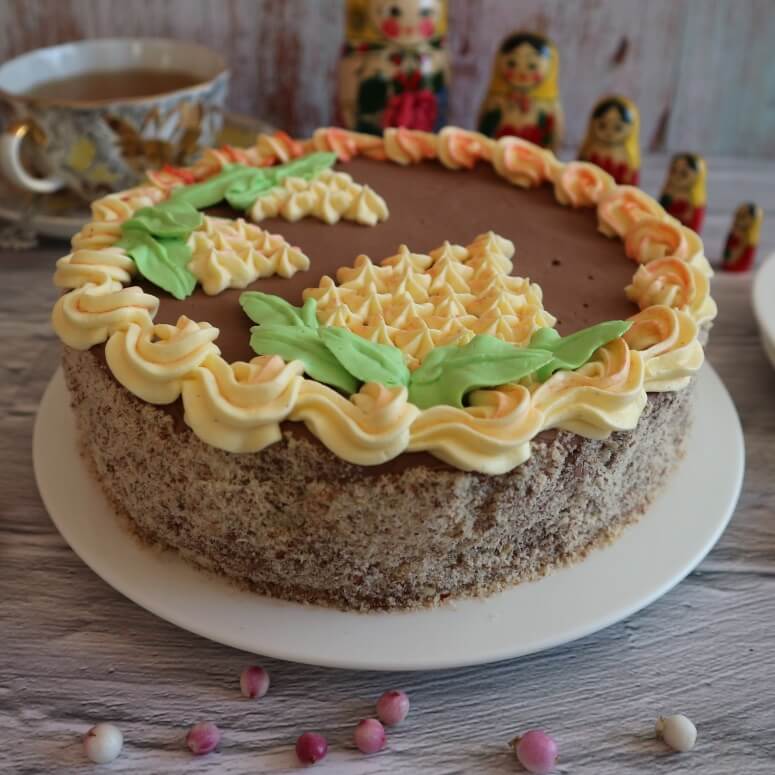
The two cakes also look quite similar on the outside and were both decorated with blossoming chestnut branches from the cream.
However, Khreshchatyk cake has its peculiarities that distinguish it from Kiev cake.
For example, its cake layers taste crispy not only from the outside, but also from the inside.
While Kiev cake is made with cashew nuts, Khreshchatyk cake used any nuts, which is why it was considered a cheaper variant of Kiev cake.
Besides, the making of the cake layers for Khreshchatyk cake is a little faster than for Kiev cake.
What nuts do I use for the recipe?
You can make Khreshchatyk cake with your favorite nuts. Or just use whatever nuts you have on hand.
I made the cake with almonds. It tastes just as delicious with peanuts, walnuts or hazelnuts.
How to decorate Khreshchatyk cake like the original?
Classically, you decorated the Khreshchatyk cake with blossoming chestnut branches from the cream that you piped onto the cake.
For this, you fill some cream into the piping bag with a possibly twisted star nozzle and use it to spray flowers in the form of triangles onto the cake. You can either just use the light cream for the flowers or color them pink beforehand.
Use the same star nozzle to draw a pretty border on the cake.
Now color another small amount of cream with green food coloring and use the piping bag and a leaf nozzle to pipe little leaves on the bottom of each triangle of flowers.
Of course, you can decorate the Khreshchatyk cake in other ways, according to your taste. Or you can sprinkle it completely with nuts. It’s quick and you don’t need to leave any of the cream for decorating.
The Khreshchatyk cake is
- crispy,
- creamy,
- nutty,
- chocolatey,
- sweet,
- aromatic,
- very tasty,
- easy and quick to make with few ingredients,
- classic of Soviet cuisine,
- ideal for dessert during the week or for a celebration,
- even more delicious in the next days after making,
- about Ø 18 cm large.
Recipe for Khreshchatyk cake
For this recipe you need very few ingredients, which you probably already have at home. The making of Khreshchatyk cake is quick and easy.
Here you can get a rough idea of how it goes and what you need for the recipe. The exact quantities and step-by-step instructions on how to make the Khreshchatyk cake yourself can be found here below in the box recipe.
For the cake layers you need
- any nuts (I had almonds),
- egg whites,
- powdered sugar
- and flour.
For the cream you need
- room warm butter,
- milk,
- sugar,
- egg yolks
- and cocoa powder.
How to make Khreshchatyk cake: here’s how (Check out the detailed recipe at the bottom.)
- For the cake layers, first mix egg whites with ground almonds and powdered sugar. Then add flour and mix until you get a thick batter. Divide the dough into three circles on two baking sheets and bake the cake layers at 130 °C convection oven for about 40 minutes.
- For the cream, mix the egg yolks with the milk and add the sugar. Boil the mixture briefly until it thickens a bit and let the milk syrup cool down. Then whip the butter until fluffy and stir in the milk syrup in batches.
- Now spread the cake layers (except the last one) with the cream (alternatively, you can leave some for decorating) and stack them on top of each other. Add cocoa powder to the rest of the cream and spread the chocolate cream over the top and sides of the cake. Done!
How to make Khreshchatyk cake: tips and tricks
- Instead of almonds, you can use other nuts, for example peanuts, hazelnuts or walnuts, for the cake layers.
- Use a wooden skewer to check if the cake layers are baked.
- You can also bake the cake layers one after the other at 150 °C top and bottom heat.
- Be sure to boil the milk syrup for the cream in a thick-bottomed saucepan so that it does not burn.
- You can use vanilla sugar, vanilla powder, vanilla extract or vanilla bean scraped out as vanilla for the cream.
- Both butter and the milk syrup need to be room warm and both about the same temperature before whipping together to make the cream, so they can combine well and the cream won’t curdle.
- After making, chill the cake for at least 5 hours to allow it to set and the cream to firm up. It tastes best the next day.
- Store the Khreshchatyk cake in the refrigerator. You can store it for up to 3 – 4 days.
Did you make the Khreshchatyk cake according to this recipe? I’m looking forward to your results, your star rating and your comment here below on how you liked and succeeded in making the Soviet cake.
Not tired of delicious Soviet-era cakes? Try too:
- “Vetka” – Soviet sponge meringue cake with nut “The tree branch”
- Hazelnut cake “Zhuravushka” – Soviet rarity with crane image
- Russian sponge cake with butter cream: popular cake of the Soviet era
Khreshchatyk cake
Ingredients
for the dough
- 120 g ground almonds
- 3 egg whites
- 220 g powdered sugar
- 30 g flour
for the cream
- 300 g butter room warm
- 180 ml milk
- 200 g sugar
- 3 egg yolks
- 10 g cocoa powder
- vanilla
for sprinkling
- 30 g ground almonds
Instructions
Making the dough
- Thoroughly mix ground almonds, egg whites and powdered sugar.
- Add flour and mix briefly to form a viscous dough.
- Spread the dough thinly in the shape of 3 approx. Ø 18 cm round cake layers on two baking sheets lined with baking paper (2 cake layers on the first baking sheet and 1 cake layer on the second baking sheet. You can draw the Ø 18 cm circles on baking paper beforehand).
- Bake the three cake layers in a preheated oven at 130 °C convection oven for about 40 minutes and let them cool down.
Making the cream
- Mix egg yolks and milk in a saucepan with a thick bottom.
- Add sugar and mix again.
- Place the mixture on the stove and bring to a boil over medium heat, stirring constantly. Then cook the milk syrup, stirring, for about 3 minutes, until it thickens a bit (gets about consistency of sweetened condensed milk).
- Add vanilla to milk syrup, stir, and let cool to room temperature, stirring occasionally.
- Beat softened butter for about 4 - 5 minutes until fluffy and creamy.
- Add the milk syrup in batches, whipping it each time to a homogeneous cream.
Making the cake
- Divide the cream into three roughly equal portions. Spread the first portion of cream generously on two of the three cake layers and stack them on top of each other. Place the third cake layer on top without the cream.
- Add cocoa powder to the second portion of cream and whip briefly to a homogeneous chocolate cream. Spread it on the top cake layer and the edge of the cake.
- Sprinkle the edge of the cake with ground almonds.
- Decorate the cake as desired with the last portion of cream and chill it for at least 5 hours.
Notes
- Other nuts will work for the cake layers instead of almonds.
- Use a wooden skewer to check if the cake layers are baked.
- You can also bake the cake layers one by one at 150 °C top and bottom heat.
- Both the butter and the milk syrup must be at room temperature and both at about the same temperature before whipping them together to make the cream, so that they can combine well and the cream does not curdle.
- The time to cool the cake layers and milk syrup is not included in the preparation time.
- Note the detailed tips and tricks for making the Khreshchatyk cake at the top of the post.

