Dieser Beitrag ist auch verfügbar auf:
Deutsch
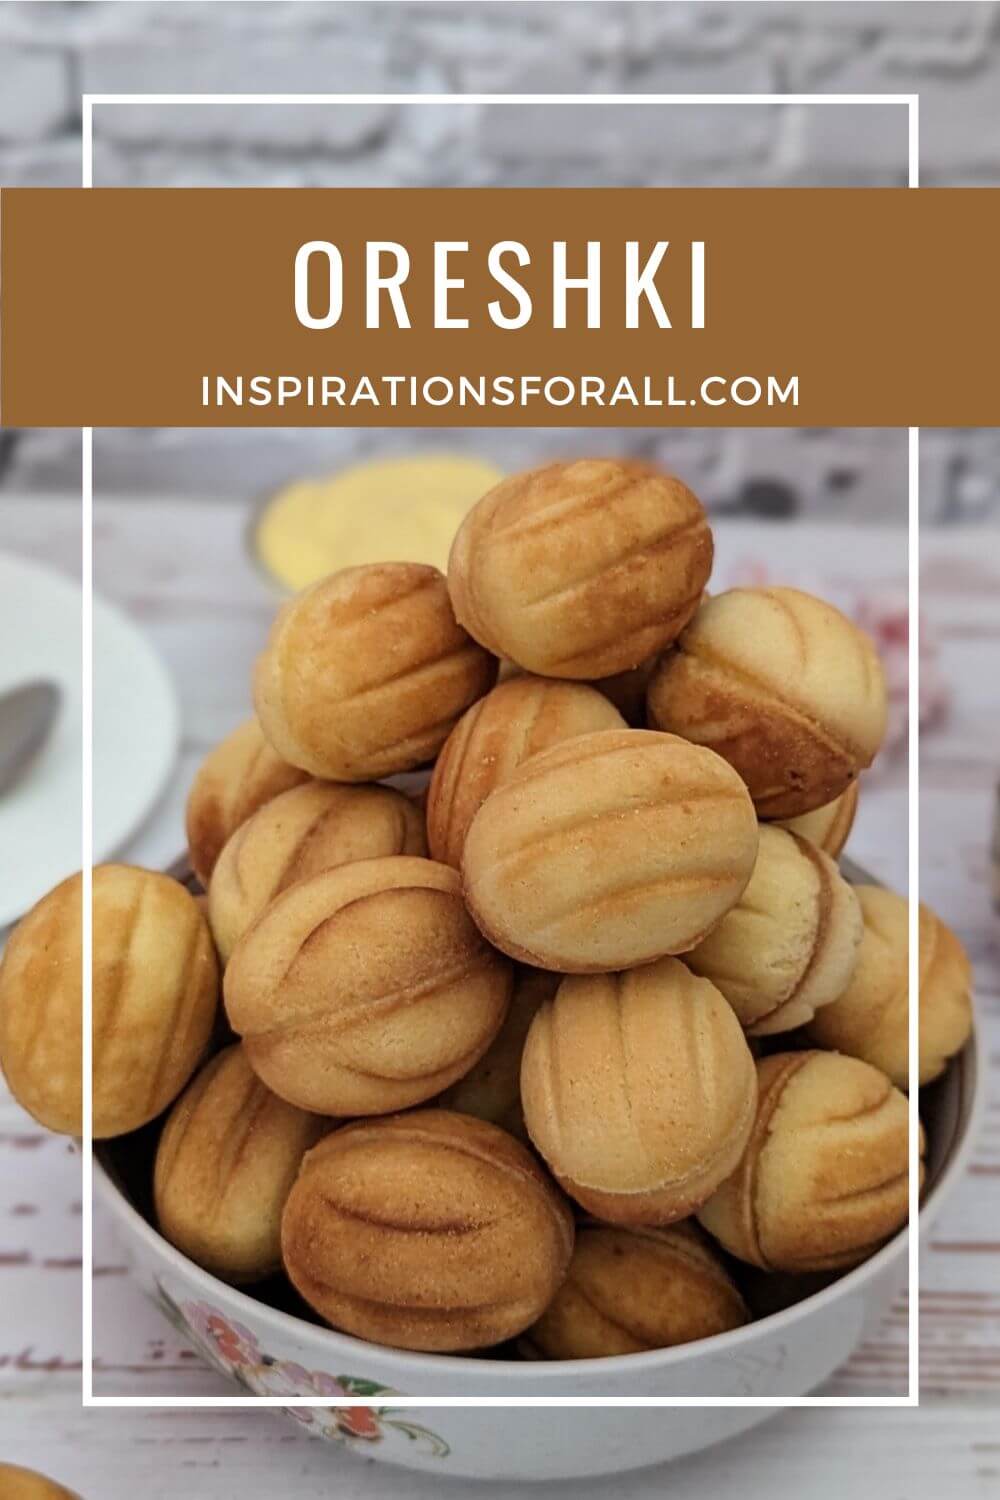
These oreshki are an unusual hit on any coffee table, both in terms of taste and appearance. They consist of a delicate shortcrust pastry and a creamy pudding butter filling. The walnut shaped cookies are ideal for Easter, Christmas, birthdays or as a gift. With a little hard work, you can easily make them at home. You can find a detailed oreshki recipe with the exact quantities and step-by-step instructions below.
What are oreshki?
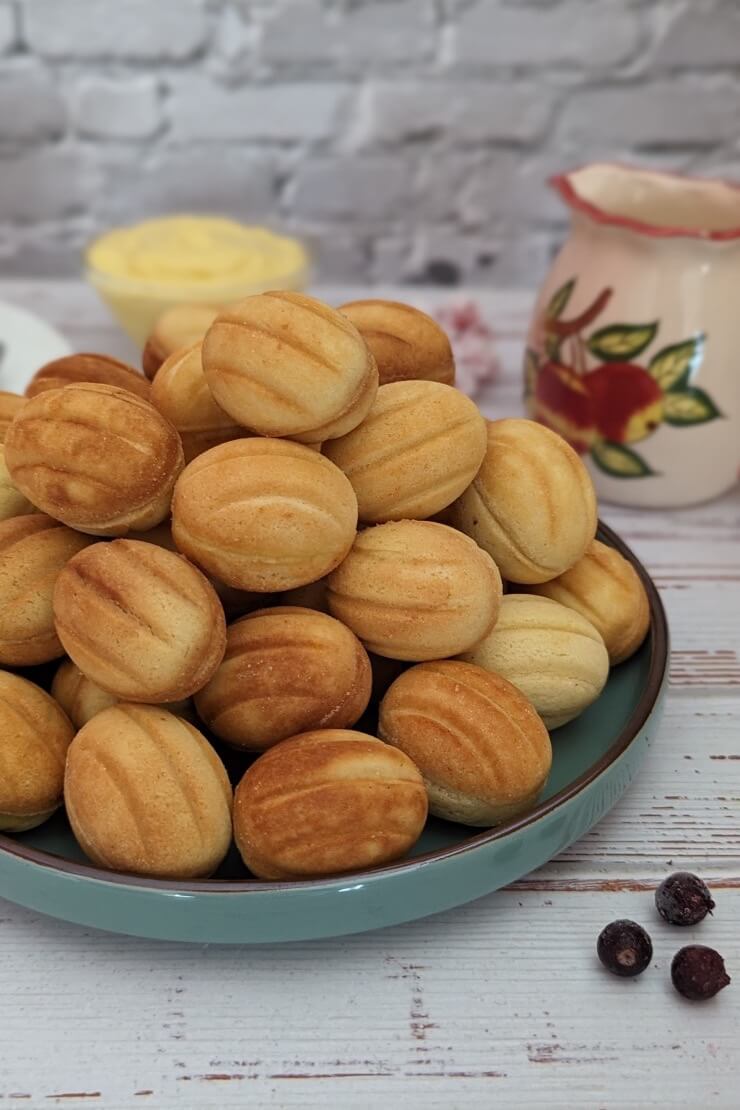
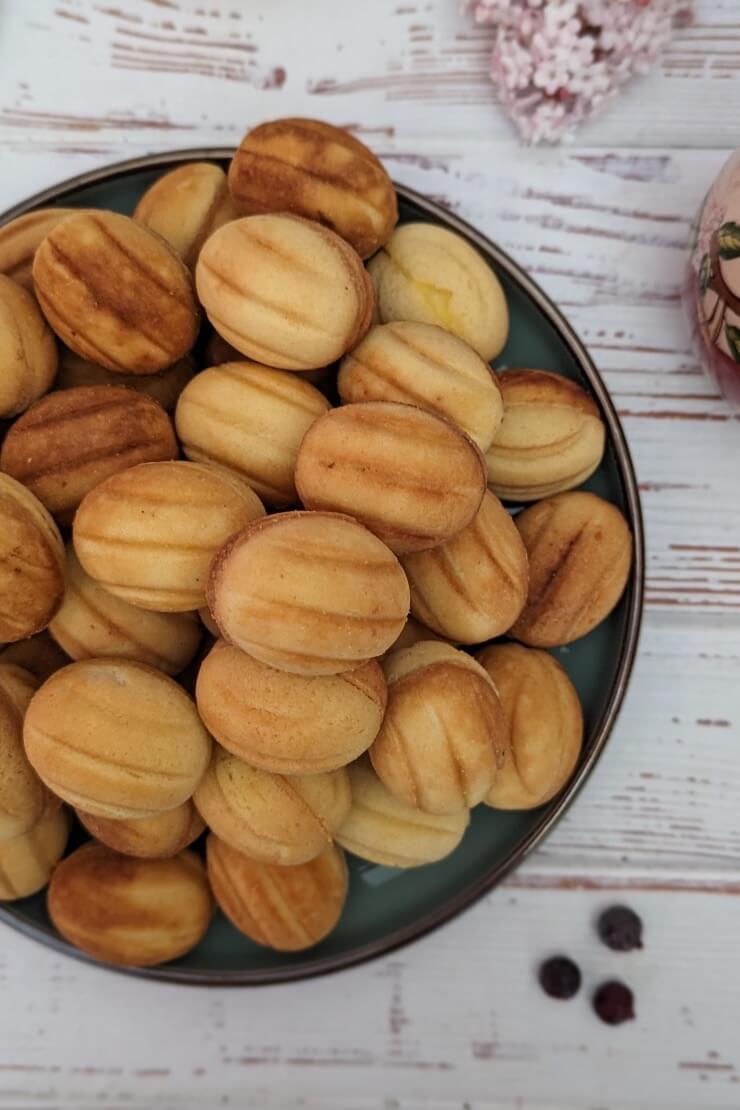
Oreshki are small filled shortcrust cookies in the shape of walnuts. They are also known as ‘Russian walnut cookies’.
The oreshki recipe dates back to the former Soviet Union, just like the recipes for the shortbread rings with peanuts, the puff pastry horns with Italian meringue or the choux pastry rings with curd. Back then, they were very popular and made by many families. Alongside the peach cookies, they were a sweet highlight for children to snack on.
The word “oreshki” (singular “oreshek”) translates from Russian as “little nuts”.
Getting walnut cookie molds
In the Soviet Union, oreshki were baked in an oreshki maker called an oreshnitsa on a gas stove. For my recipe, I used a similar oreshnitsa, which works just as well on an electric stove.
It is important that you grease and heat such an oreshki maker before you put the balls of dough in it. It should also be turned over when baking the nut halves on the stove so that they are baked inside and out.
I baked the nut halves on a high heat for a few minutes on each side. You’ll have to experiment and see at what heat and how long the cookies take on your stove and in your walnut cookie molds.
There is now also a large selection of electric oreshki maker. Follow the relevant instructions before use.
Possible fillings for oreshki
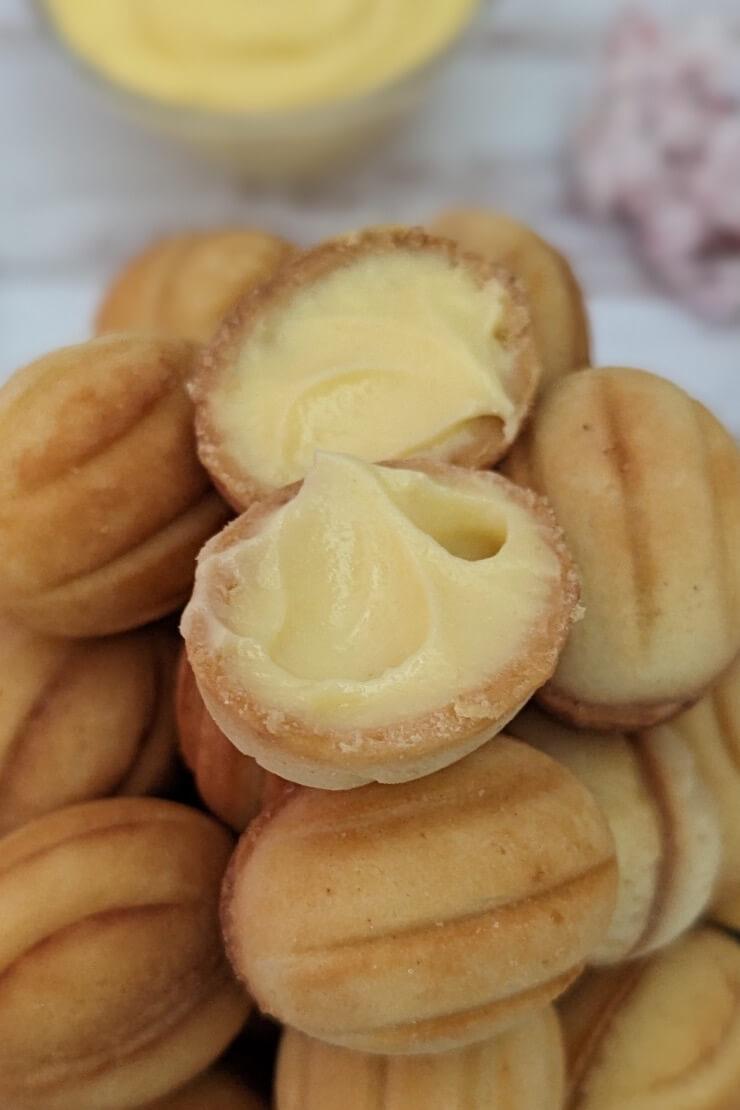
You can use many different fillings for the Russian walnut shaped cookies. During the Soviet era, we always had oreshki with the pudding buttercream at home, which is also used in the classic Napoleon cake and my crepe cake with cinnamon.
The oreshki with the pudding butter filling taste not too sweet, creamy and tender. The shortcrust pastry is crispy on the first day. You can find the recipe for this here at the end of the post in the recipe box.
The walnut shaped cookies are often filled with caramelized sweetened condensed milk. It can also be mixed with ground nuts, for example walnuts, hazelnuts or almonds.
You can also whip caramelized sweetened condensed milk together with butter, as for the cakes “Little stairs“, and fill the oreshki with this caramel buttercream. Note that both ingredients must be at room temperature.
Ganache is just as suitable for filling the Russian walnut cookies. You can prepare it using my recipe for the chocolate honey cake with ganache, for example.
Oreshki also taste delicious with a chocolate spread or nut nougat cream. You can also fill them with any firm jam and the caramel sauce.
The scraps of dough cut from the edge of the nut halves are usually finely crumbled and stirred into the filling. A whole nut can also be placed in the middle of each filling.
Worth the effort
The oreshki recipe is not difficult at all. However, it does require diligence and patience.
The dough and filling are ready fairly quickly. What takes the most time is shaping the dough balls, baking and cutting the nut halves to size and filling and shaping the walnut cookies.
But in the end, the effort is worth it. Because the oreshki taste heavenly delicious and are eaten immediately.
Portion the dough correctly
If you find the right size for the dough balls, you won’t have to cut so many nut halves in the end. This will give you quite a few nuts and save you time.
The size of the dough balls depends on the size of the walnut cookie molds in your oreshnitsa. Normally you need about 4 g – 6 g of dough for each nut half. I used a kitchen scale when forming the dough balls.
In addition, the dough balls must be placed exactly in the center of each cookie mold. Then they get the right shape when baking.
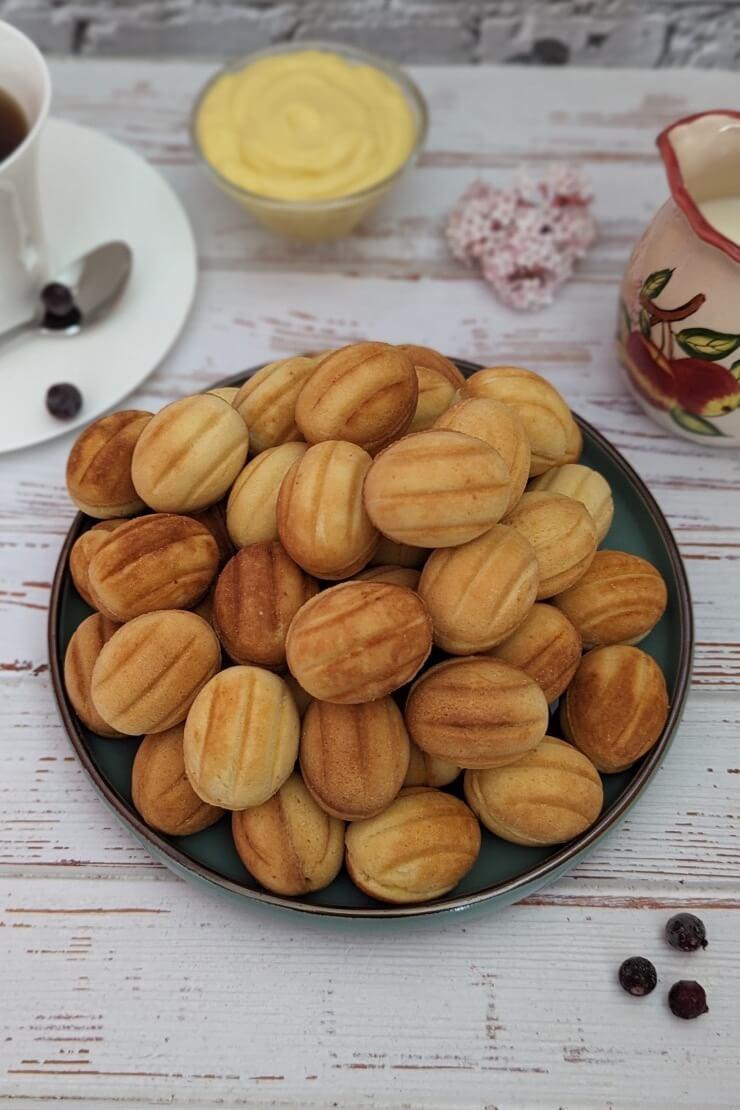
How to store Russian walnut cookies?
Store the oreshki with pudding butter filling in an airtight container in the fridge. You should use them up within about 3 – 4 days. They won’t go bad after that, but the pastry will absorb more and more of the filling. They will become softer on the outside and less full on the inside.
Suitable for every occasion
Oreshki taste delicious at any time of year, just like Russian mushroom cookies, Baku Kurabiye or Russian almond cookies. They are ideal for Christmas. They are also popular at Easter.
You can also serve the walnut shaped cookies at a party, for example at a birthday party. In addition to the cake pops, the zefir lollies and the chocolate whoopie pies, they are also a perfect addition to the candy bar at a wedding.
In the Soviet Union, oreshki were made both for special occasions and just for a weekend tea party. And if the whole family joins in, the sweet walnut shaped cookies are ready in no time.
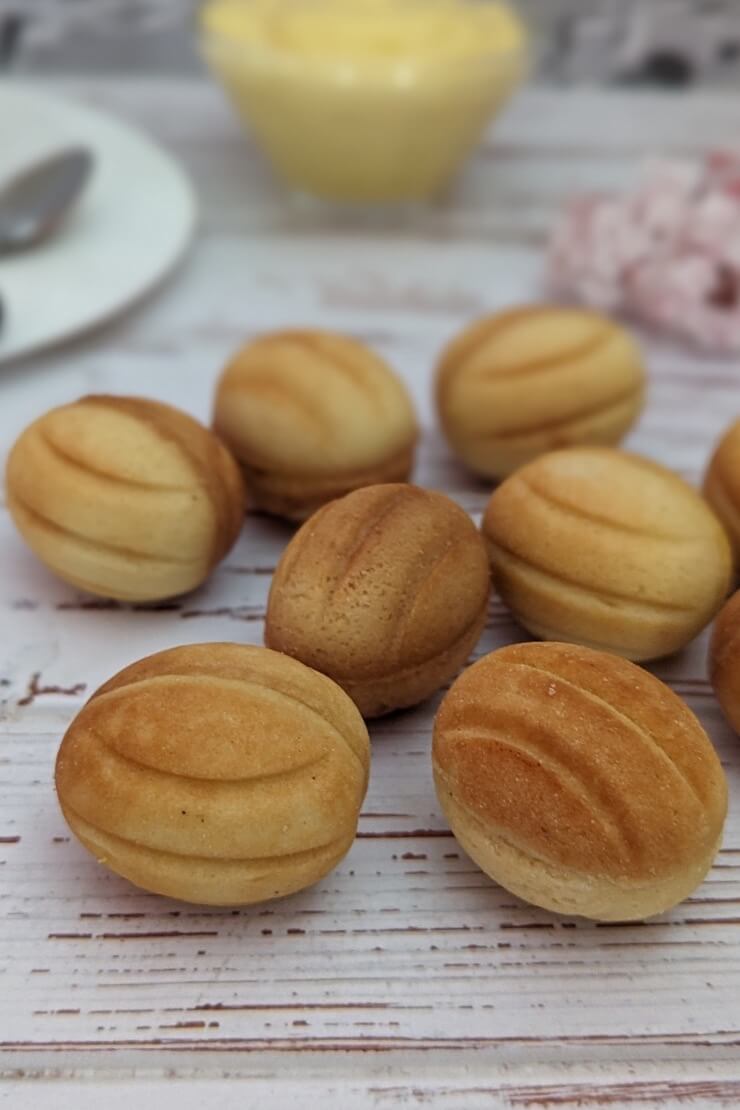
These walnut shaped cookies are
- crumbly,
- tender,
- creamy,
- moderately sweet,
- incredibly tasty,
- aromatic,
- unique,
- with pudding butter filling – also available with other fillings,
- an unusual eye-catcher on the coffee table, similar to the apricot kisses,
- easy to make with a little effort,
- perfect for a special occasion or for a tea party with the family,
- ideal as a gift, alongside the Bird’s milk sweets,
- a classic of Soviet cuisine.
How to make oreshki: tips and tricks
- The amount of flour for the dough specified in the recipe may vary. Only add as much flour to the liquid mixture in portions until you have a very soft shortcrust dough.
- Do not knead the dough for too long, but only briefly until the consistency is just homogeneous enough so that the Russian walnut cookies taste crumbly and not tough.
- You can find more ideas for oreschki fillings in the article above.
- The excess dough that you have cut off the nut halves can be finely crumbled and mixed with the filling.
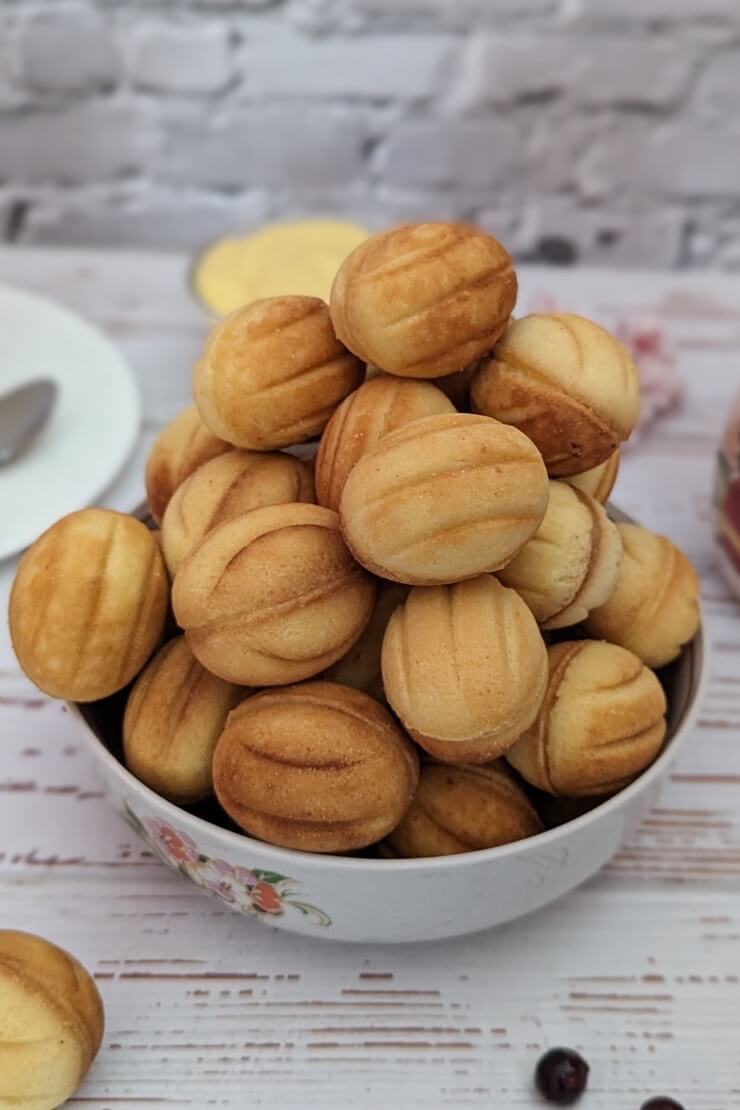
Walnut shaped cookies video recipe
You can find a short video for the oreshki on my Youtube channel. There you can see exactly how to make them at home. If you don’t want to miss any more of my videos, please subscribe to my channel.
Have you made oreshki using this recipe? I look forward to your result, your star rating and your comment below on how they turned out and tasted.
Also try these Soviet sweet recipes:
- Sugar tongues – quick recipe for Soviet puff pastry cookies
- Chocolate sausage – Russian chocolate salami recipe
- Suvorov cookies – Soviet recipe with the original filling
Oreshki (Walnut shaped cookies)
Equipment
- Oreshnitsa or walnut shaped cookie molds
Ingredients
for the dough
- 180 g butter
- 140 g sugar
- 2 eggs
- approx. 400 g flour
- 6 g baking powder
- 1 pinch of ground vanilla bean
- 1 pinch of salt
- possibly butter to grease the oreshnitsa
for the filling
- 600 ml milk
- 125 g butter room warm
- 150 g sugar
- 4 eggs
- 60 g flour
- 1 pinch of ground vanilla bean
Instructions
Preparation of the dough
- Melt butter and leave to cool slightly.
- Beat eggs, sugar and salt until light and fluffy.
- Add vanilla and the melted butter and mix briefly.
- Mix flour with baking powder.
- Add the flour mixture in portions to the egg sugar mixture and knead briefly and quickly to form a very soft dough.
- Chill the dough in an airtight container for 30 minutes.
Preparation of the filling
- Mix eggs, sugar and flour thoroughly in a thick-bottomed saucepan to form a homogeneous mixture without lumps.
- Pour in milk and stir again to form a homogeneous mixture.
- Place the saucepan on the stove and bring the milk mixture to a boil, stirring constantly, until it thickens like a pudding. Continue to cook the pudding for approx. 1 - 2 minutes while stirring and remove from the heat.
- Immediately add softened butter cut into pieces and vanilla to the hot pudding and stir until the butter has melted.
- Leave the cream to cool, stirring occasionally.
Preparation of the oreshki
- Shape the dough into very small balls (approx. 4 - 6 g each, depending on your baking tin).
- If you don't have an electric oreshki maker, but one that is used on the stove, you will need to grease it with butter and heat it up beforehand. Read more about this in the article above. Follow the instructions for your electric oreshki maker.
- Gradually bake all the dough balls in the oreshki maker until golden yellow to golden brown and leave the nut halves to cool.
- If necessary, carefully remove the excess edge from each nut half with a sharp knife.
- Using a piping bag or a teaspoon, fill each nut half not too full with the cream and stick two nut halves together.
- Chill the oreshki for approx. 2 hours.
Notes
- The amount of flour for the dough specified may vary. Only add as much flour to the liquid mixture in portions until you have a very soft shortcrust dough.
- Do not knead the dough for too long, but only briefly until the consistency is just homogeneous enough so that the Russian walnut cookies taste crumbly and not tough.
- You can find more ideas for oreschki fillings in the article above.
- The excess dough that you have cut off the nut halves can be finely crumbled and mixed with the filling.
- See the detailed tips and tricks for making the oreshki at the top of the article.
If you are using Pinterest, you can pin the following picture:
