Dieser Beitrag ist auch verfügbar auf:
![]() Deutsch
Deutsch
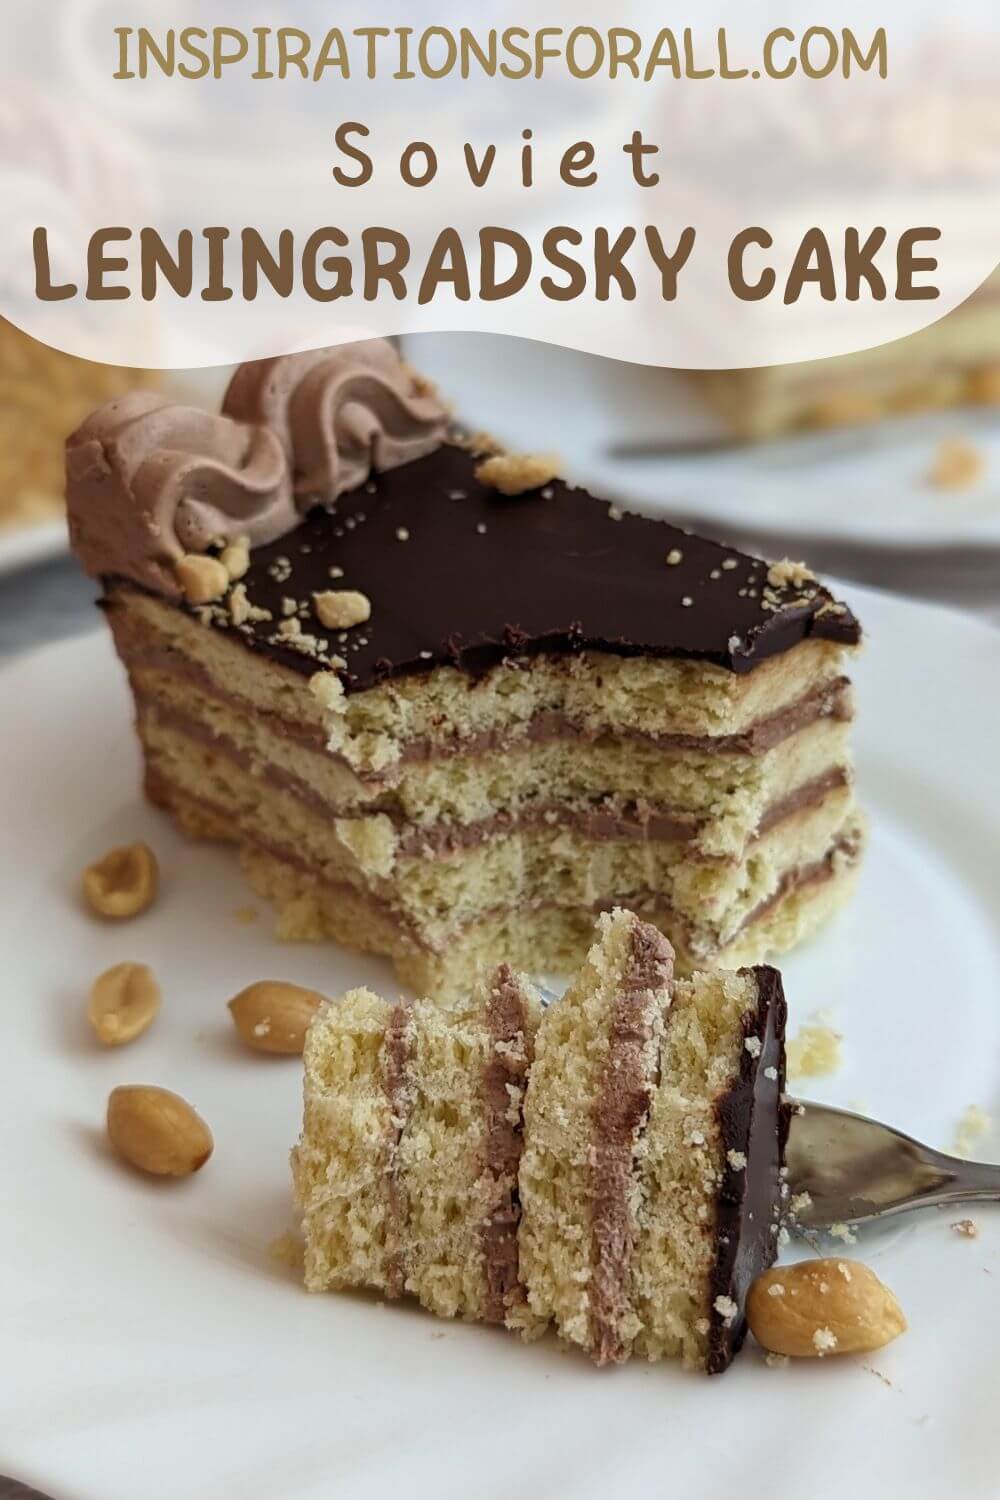
Tender, crumbly, creamy, chocolatey and so delicious tastes the cake “Leningradsky”. No wonder it was one of the most popular Soviet cakes. Meanwhile, you can easily make it yourself at home. A detailed Leningradsky cake recipe with exact quantities and step-by-step instructions can be found below.
Who invented the cake?
The cake was invented in 1960 in Leningrad confectionery factory. It was the result of competition with the Kiev confectionery factory, which produced the Kiev cake.
The assortment of Soviet confectioneries at that time consisted mainly of sponge cakes. These included, for example, the sponge cake with butter cream, cake “Charodeyka” and Wenceslas cake. There were also the sponge slices with butter cream and sponge nut slices.
Shortcrust cakes, such as the cake “Abrikotin” or the cake “Leningradsky”, were rather rare and therefore special.
The Leningradsky cake quickly gained popularity at that time. Both adults and children were enthusiastic about the shortcrust cake.

What is Leningradsky cake made of?
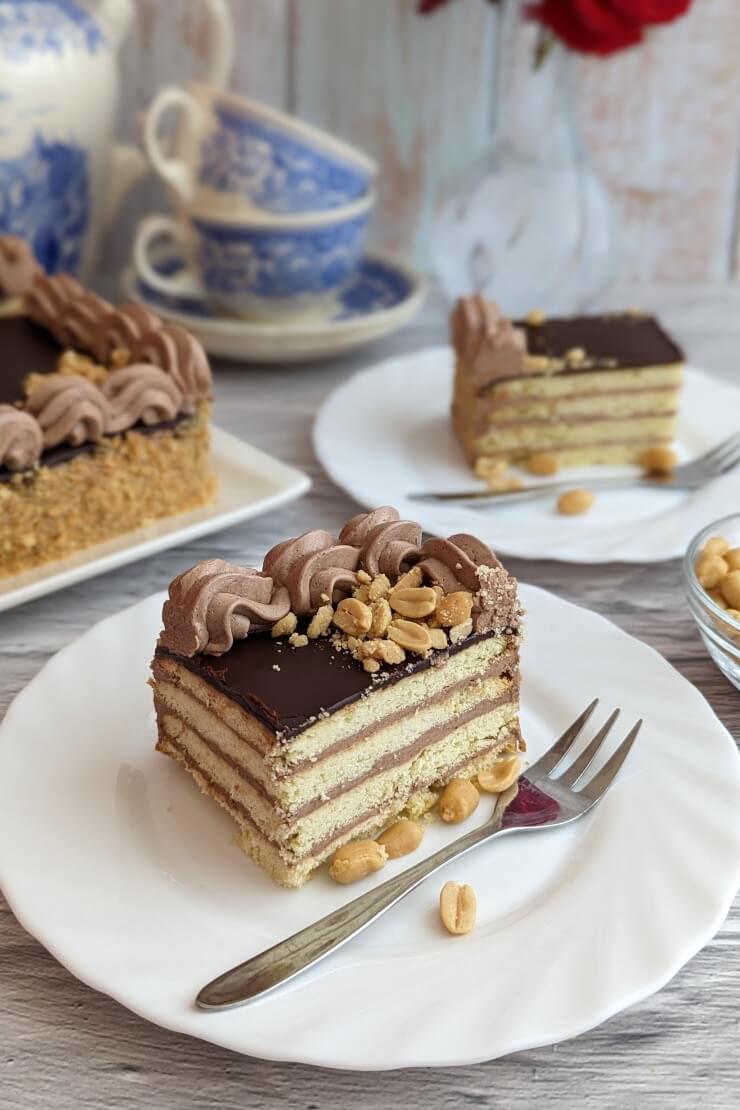
The cake “Leningradsky” consists of shortcrust pastry bases. They taste sandy, buttery, fine and practically melt in your mouth.
The cake is filled with a chocolate butter cream. It is heavenly soft, creamy and airy at the same time. By the way, the cake “Skazka” is covered with the same cream.
The thin layer of jam that goes on the top cake layer gives the cake a slightly sour and fruity note. It is similar with the Soviet mini chocolate mousse cake “Eva”.
The taste of the Leningradsky cake is rounded off by the sweet chocolate glaze with which it is covered on top.
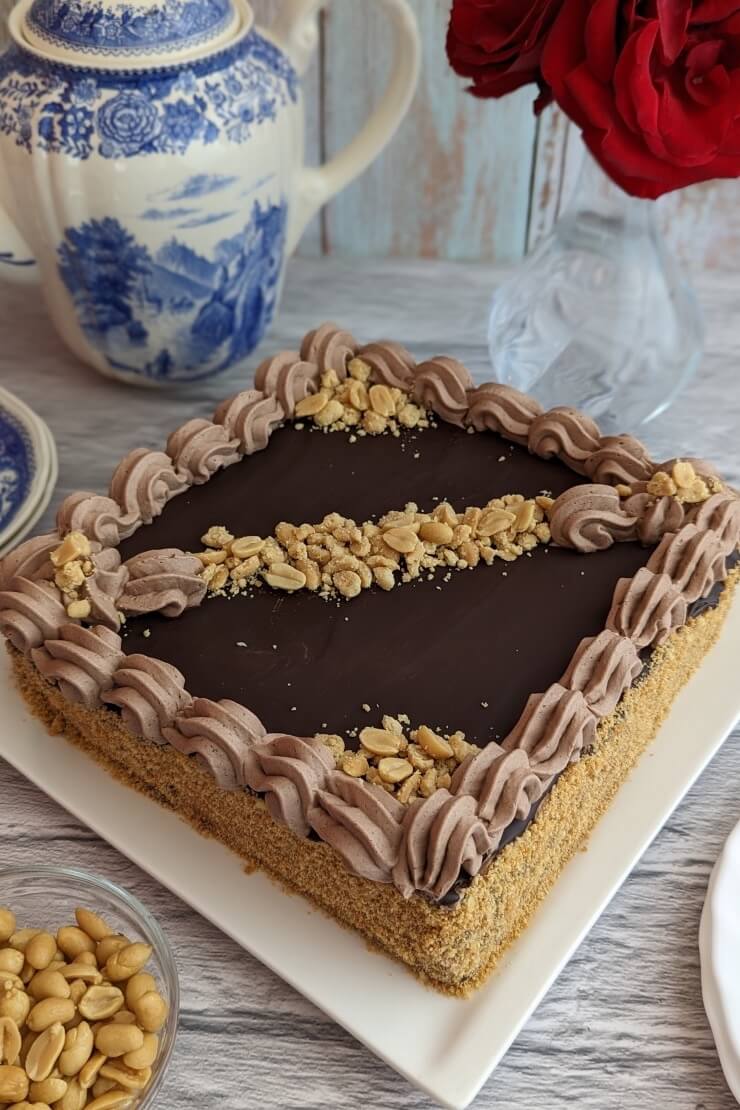
The cake is decorated with the butter cream and peanuts. On the sides it is sprinkled with the shortcrust crumbs.
In Soviet times, the cake was still traditionally labeled “Leningradsky”. When the city was renamed Saint Petersburg, the inscription was removed.
The classic Leningradsky cake had a rectangular shape and consisted of four cake layers. I made it in that shape, too. By the way, the Russian cake “Milk girl”, cake “Caramel girl” and honey cake “Winnie-the-Pooh” also have a square shape.

The original according to GOST
In the Soviet Union the cake “Leningradsky” was made according to GOST (State Standard). In modern recipes, some steps were replaced by a faster version.
For example, the Leningradsky cake was traditionally covered not with an ordinary chocolate glaze, but with a chocolate fondant. If you want to recreate it the same way, you can find the recipe for such a fondant in my post for the mini cakes “Bouchee”.
However, the preparation of the chocolate fondant requires some effort. You also need a kitchen thermometer. Also, the fondant needs to mature in the refrigerator for at least 24 hours, so you should allow time for that. In addition, a fondant tastes quite sweet.
An apricot jam was always used for the cake “Leningradsky” during the Soviet era. I took my rhubarb jam for the recipe this time. It is important that your jam tastes sour, such as blackcurrant jam. Because, among other things, a slightly sour, fruity flavor is what makes the Leningradsky cake.
The last point, which comes from the GOST recipe, but is less important, is the decoration of the cake. In fact, classically it was decorated with the light butter cream. To do this, simply leave a few tablespoons of butter cream for decorating before stirring in cocoa powder to the rest of the cream.
The cake “Leningradsky” is
- crumbly,
- creamy,
- buttery,
- sandy,
- tender,
- chocolaty,
- fine,
- slightly nutty,
- heavenly delicious,
- easy to make at home,
- in the next few days even more tasty than immediately after preparation,
- ideal for dessert with coffee, tea or for a special occasion,
- classic of Soviet cuisine.
Leningradsky cake recipe
The Leningradsky cake recipe you will find here at the end of the post in the recipe box is absolutely not difficult. It only requires a few steps and thus takes some time to make.
First, you knead a soft shortcrust pastry from the ingredients and let it chill for a while. Then you roll four rectangular cake layers from it, among other things like for the cake “Ptichka”, bake them individually and let them cool down. Make crumbs from the leftover dough.
For the cream, briefly boil a milk syrup made of sugar, egg and milk and let it cool. Then whip soft butter until fluffy, stir in the milk syrup in portions and then the cocoa powder.
Now spread three of the four cake bases with the cream and the fourth with any jam. Stack them on top of each other to form a cake, with the cake layer with jam coming last.
Frost the cake with the chocolate glaze made of melted chocolate and butter. Sprinkle the sides of the cake with crumbs. Then decorate the cake as desired and chill it for a few hours.

How to make cake “Leningradsky”: tips and tricks
- The amount of flour given in the recipe may vary. Add flour in portions until you get a very soft dough.
- Instead of vanilla bean, you can use vanilla sugar or vanilla extract**.
- Do not knead the dough too long, so that the cake layers taste crumbly and not dry after baking. It is enough if it just gets a roughly homogeneous consistency.
- Be careful with the hot cake bases, because they are very fragile. It is best to let them cool on the baking paper on which they were baked.
- Classically, the cake is prepared with apricot jam. Alternatively, you can use another jam. It is best if it tastes sour.
- Rum in the cream can be omitted.
- The most delicious taste the cake “Leningradsky” is the next day. It is best to leave it in the refrigerator overnight.
Leningradsky cake video recipe
By the way, on my Youtube channel you can find a short video for the cake “Leningradsky”. There you can see exactly how to make it yourself. If you don’t want to miss any more videos from me, feel free to subscribe to my channel.
Did you make the Leningradsky cake at home using this recipe? I’m looking forward to your result, your star rating and your comment here below how it turned out and tasted.
Looking for more Soviet cake recipes? How about these:
- Cake “Slavyanka” – nostalgia USSR dessert with secret ingredient
- Cake “Slavutych” – forgotten pearl from the Soviet era
- Cake “Gusinye lapki” – recipe for Soviet chocolate cake with cherries
Leningradsky cake
Equipment
- piping bag with star nozzle
Ingredients
for the dough
- 190 g butter room warm
- 130 g powdered sugar**
- 1 egg
- approx. 330 g flour**
- 10 g baking powder**
- 1 pinch of vanilla bean**
- 1 pinch of salt
- flour for the work surface
for the cream
- 200 g butter room warm
- 170 g sugar**
- 120 ml milk
- 1 egg
- 10 g cocoa powder**
- 1 tbsp rum
- 1 pinch of vanilla bean**
for the chocolate glaze
- 50 g dark chocolate
- 30 g butter
also
- 1 tbsp jam sour
for decorating
- peanuts roasted and coarsely chopped
Instructions
Preparation of the dough
- Mix softened butter, powdered sugar, vanilla and salt.
- Add egg and mix until homogeneous.
- Mix flour with baking powder.
- Add the flour mixture in batches to the butter mixture and knead it briefly and quickly into a soft, roughly homogeneous dough.
- Divide the dough into four equal pieces and chill them, covered, for 40 minutes.
- First, take one of the four dough pieces out of the refrigerator, roll it in flour, roll it out thinly on a sheet of baking paper and cut out an 18 x 18 cm square cake base from it. Put the resulting dough scraps back in the fridge for now.
- Prick the cake base several times with a fork, pull it together with the baking paper onto a baking tray and bake it in a preheated oven at 410 °F (210 °C) for about 7 minutes.
- Repeat the procedure with the remaining three dough pieces and let the four cake bases cool.
- Then roll out all the leftover dough thinly, bake it in the same way as the cake layers, let it cool and crumble it finely.
Preparation of the cream
- Thoroughly mix milk, sugar and egg in a small saucepan with a thick bottom.
- Place the saucepan on the stove, bring the mixture to a boil over medium heat, stirring constantly, and simmer until slightly thickened, about 2-3 minutes.
- Let the milk syrup cool to room temperature, stirring occasionally.
- Beat softened butter for about 5 minutes until fluffy and creamy.
- Add the milk syrup in batches, whisking each time to form a homogeneous cream.
- Add cocoa powder and vanilla and whip to a homogeneous chocolate cream.
- Add rum and whip again briefly.
Preparation of the cake
- If you have a solid jam with fruit pieces, heat it briefly and pass it through a sieve.
- Pour a few tablespoons of chocolate cream into a piping bag with a star nozzle to decorate the cake.
- Spread the remaining cream (leave a small amount for the sides of the cake) on three of the four cake bases and stack them on top of each other.
- Place the fourth cake base without cream on top last.
- Spread the sides of the cake with the remaining cream.
- Spread a thin layer of jam on the top cake base.
- Chill the cake for a few minutes while you make the chocolate glaze.
Preparation of the chocolate glaze
- Melt dark chocolate together with butter slowly in a water bath.
Decorate the cake
- Cover the top of the cake with the chocolate glaze.
- Sprinkle the sides of the cake with the cake crumbs.
- Chill the cake for about 10 minutes to allow the chocolate glaze to dry.
- Decorate the cake randomly with the cream in the piping bag and peanuts.
- Chill the Leningradsky cake for at least 2 hours.
Notes
- The amount of flour indicated may vary. Add flour in portions until you get a very soft dough.
- Instead of vanilla bean, you can use vanilla sugar or vanilla extract**.
- Do not knead the dough too long in any case, so that the cake layers taste crumbly and not dry after baking. It is enough if it just gets a roughly homogeneous consistency.
- Be careful with the hot cake bases, because they are very brittle.
- Rum in the cream can be omitted.
- The most delicious taste the cake "Leningradsky" is the next day.
- Note the detailed tips and tricks for making the Leningradsky cake at the top of the post.
If you are using Pinterest, you can pin the following picture: