
Dieser Beitrag ist auch verfügbar auf:
![]() Deutsch
Deutsch
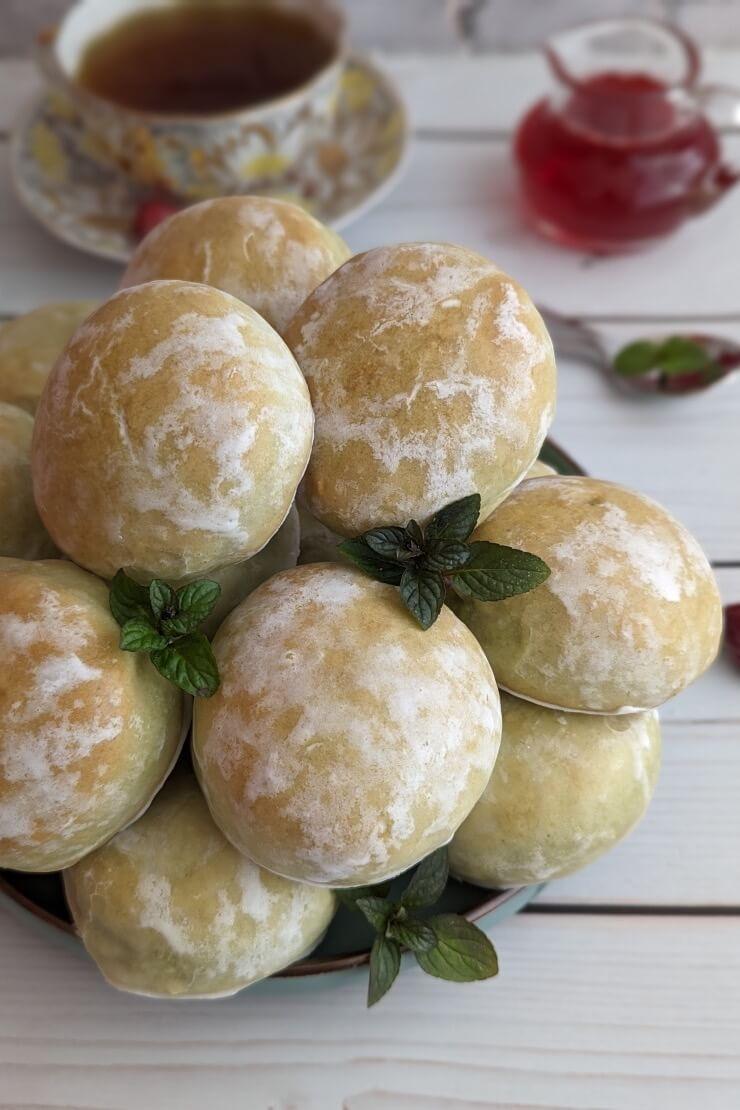
These pryaniki with mint flavor are heavenly fluffy, fresh and aromatic. They are made from fresh peppermint and therefore have an unusual color. You can easily make them at home using ordinary ingredients. You can find a detailed peppermint pryaniki recipe with the exact quantities and step-by-step instructions below.

Classic among pryaniki varieties homemade
Alongside the chocolate pryaniki, the pryaniki with mint flavor are one of the most popular types of pryaniki. They were already very popular during the Soviet era, just like the peach cookies, milk korzhiki and Plushki.
You can buy the mint pryaniki in some supermarkets and Russian stores. However, they usually contain flavorings and other additives.
The dough for my peppermint pryaniki, just like for the peppermint cookies, is made exclusively with fresh mint. The recipe is pretty simple and quick. So it’s best to make the pryaniki with mint at home.

Dough with boiling milk for peppermint pryaniki
The dough for the peppermint pryaniki, just like for the pryaniki “Nezhenka”, is prepared with hot milk. It is brought to a boil briefly and then immediately mixed with flour. The preparation is somewhat similar to the classic choux pastry, which is used, for example, to make the cake “Damskie palchiki”, the choux pastry rings with curd or the eclairs.
This method of preparation gives the pryaniki with mint flavor a very fluffy and tender consistency after baking. They also stay fresh and soft for a long time.
Adjust the amount of mint
Depending on how strong you want the mint flavor in your pryaniki to be, you can adjust the amount of mint leaves in the recipe. It is best to use fresh mint from your own garden or balcony, just like for the mint ice cream or the cherry plum jam with mint. You can also buy fresh mint in many supermarkets.
These peppermint pryaniki are
- fluffy,
- moist,
- tender,
- fresh,
- soft,
- moderately sweet,
- incredibly tasty,
- very aromatic,
- long shelf life,
- with fresh mint,
- without flavorings,
- more delicious than those from the supermarket,
- quick and easy to make,
- ideal for dessert with coffee, tea, milk or to take with you on the go,
- a classic of Russian cuisine.

How to make pryaniki with mint flavor: tips and tricks
- Depending on how pronounced you want the mint flavor in your pastry, you can use more or less peppermint leaves for the recipe.
- As an alternative to fresh mint, you can use food-grade peppermint oil.
- The amount of flour specified in the recipe may vary. Only add enough of the last portion of flour to the peppermint mixture until you have a soft, slightly sticky dough.
- Do not roll out the dough too thinly, but at least 1 cm thick, so that your peppermint pryaniki do not become too flat. Otherwise they could taste dry.
- Depending on the size of your pryaniki with mint flavor, the baking time specified in the recipe may vary.
- Do not bake the pryaniki longer than necessary to ensure they taste moist. Test them with a skewer to check whether they are done baking.
Did you make the peppermint pryaniki using this recipe? I look forward to your results, your star rating and your comment below on how they turned out and tasted.
Try these pryaniki recipes too:
- Farmer’s cheese pryaniki – heavenly fluffy and tender
- Caramel pryaniki – with aromatic spices
- Pryaniki with sour cream – very simple recipe for fluffy pastry
Peppermint pryaniki
Ingredients
- 20 g fresh peppermint leaves
- 250 ml milk
- 200 g sugar
- 1 egg
- 50 ml vegetable oil
- 125 + approx. 395 g flour
- 15 g baking powder
- 1 pinch of salt
- flour for the work surface
for the sugar icing
- 150 g sugar
- 75 ml water
Instructions
- Put milk and peppermint leaves in a blender, blend until smooth and pour through a fine sieve.
- Mix 125 g flour, sugar and salt in a mixing bowl.
- Pour the peppermint milk into a saucepan and bring to a boil very briefly.
- Pour the hot peppermint milk into the mixing bowl with the flour mixture, mix thoroughly with a whisk to form a homogeneous mixture and leave to cool to lukewarm.
- Add vegetable oil and egg to the peppermint mixture and stir to combine.
- Mix the remaining flour with baking powder.
- Add the flour mixture in portions to the liquid peppermint mixture and knead briefly to form a soft, slightly sticky dough.
- Cover the dough and leave to rest at room temperature for 20 minutes.
- Roll out the dough on a well-floured work surface to a thickness of approx. 1 cm - 1.5 cm and cut out round cookies.
- Spread the peppermint pryaniki on a baking sheet lined with baking paper, bake in a preheated oven at 356 °F (180 °C) for approx. 15 - 20 minutes and leave to cool.
Preparation of the sugar icing
- Put sugar and water in a small saucepan and bring to a boil over a medium heat, stirring constantly so that the sugar dissolves before the syrup boils.
- Leave the sugar icing to boil over a medium heat without stirring until it reaches 230 °F (110 °C).
- Remove the sugar icing from the heat and leave to cool to 158 °F - 176 °F (70 °C - 80 °C) for approx. 7 - 10 minutes.
Coating the peppermint pryaniki with the sugar icing
- Place a few pryaniki on a flat plate and drizzle them with the sugar icing. Rub the sugar icing quickly onto the pryaniki with your hands as soon as it is no longer too hot.
- Spread the peppermint pryaniki in the sugar icing on a sheet of baking paper.
- Repeat the process quickly with the rest of the pryaniki and the remaining sugar icing.
- Leave the peppermint pryaniki with the sugar icing to dry.
Notes
- Depending on how pronounced you want the mint flavor in your pastry, you can use more or less peppermint leaves.
- As an alternative to fresh mint, you can use food-grade peppermint oil.
- The amount of flour specified may vary. Only add enough of the last portion of flour to the peppermint mixture until you have a soft, slightly sticky dough.
- Do not roll out the dough too thinly, but at least 1 cm thick, so that your peppermint pryaniki do not become too flat. Otherwise they could taste dry.
- Depending on the size of your pryaniki with mint flavor, the baking time specified may vary.
- Do not bake the pryaniki longer than necessary to ensure they taste moist. Test them with a skewer to check whether they are done baking.
- Take note of the detailed tips and tricks for making the peppermint pryaniki at the top of the article.
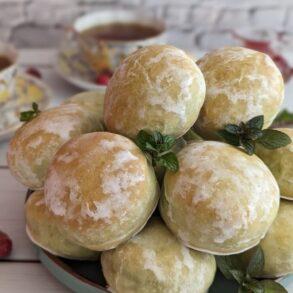
If you are using Pinterest, you can pin the following picture:
